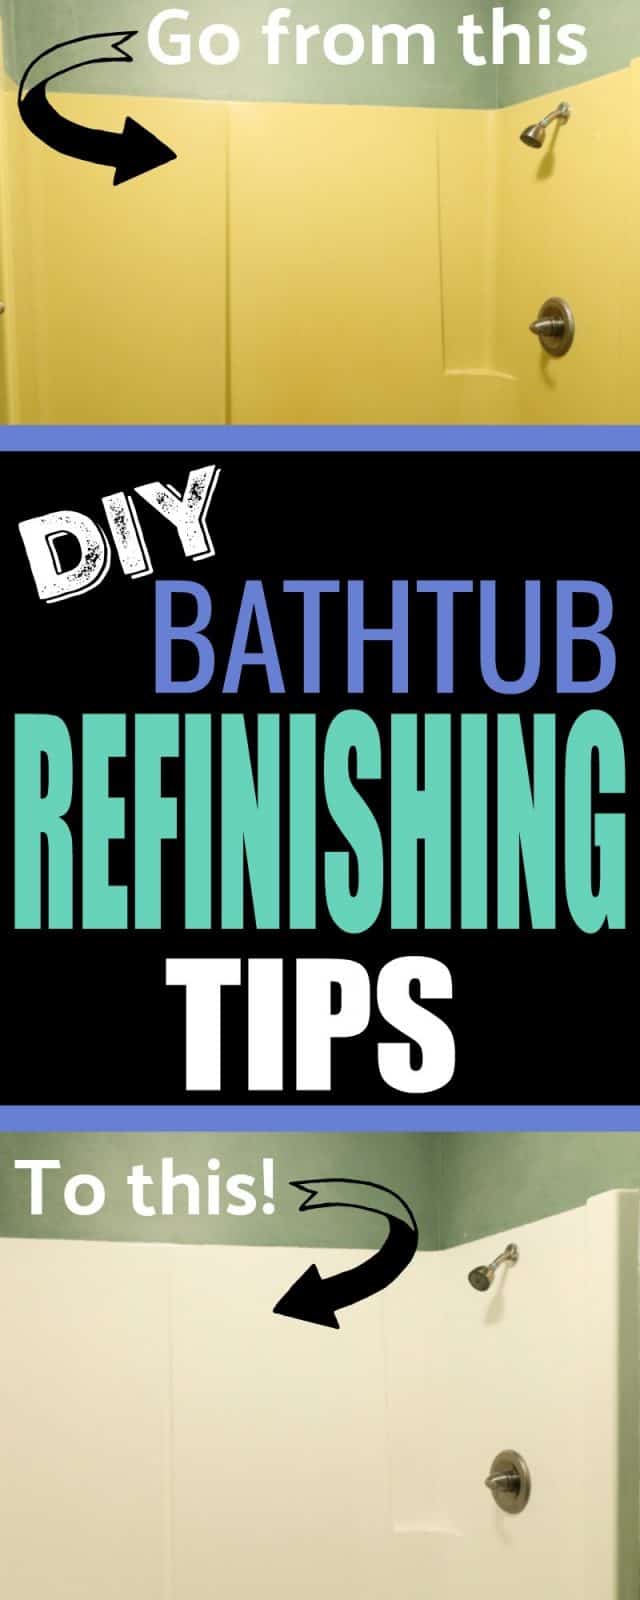
We’ve been remodeling our 1970’s era Harvest Gold bathroom for the last few weeks. After changing directions with the bathroom remodel, it was finally time to do something about the tub. Instead of a complete demo, we decided to try to paint the bathtub. What?? You can’t paint a tub! Oh, yes you can, and I just completed this DIY bathtub refinishing project.
Goodbye ugly yellow tub. Hello gorgeous white and sparkly tub!
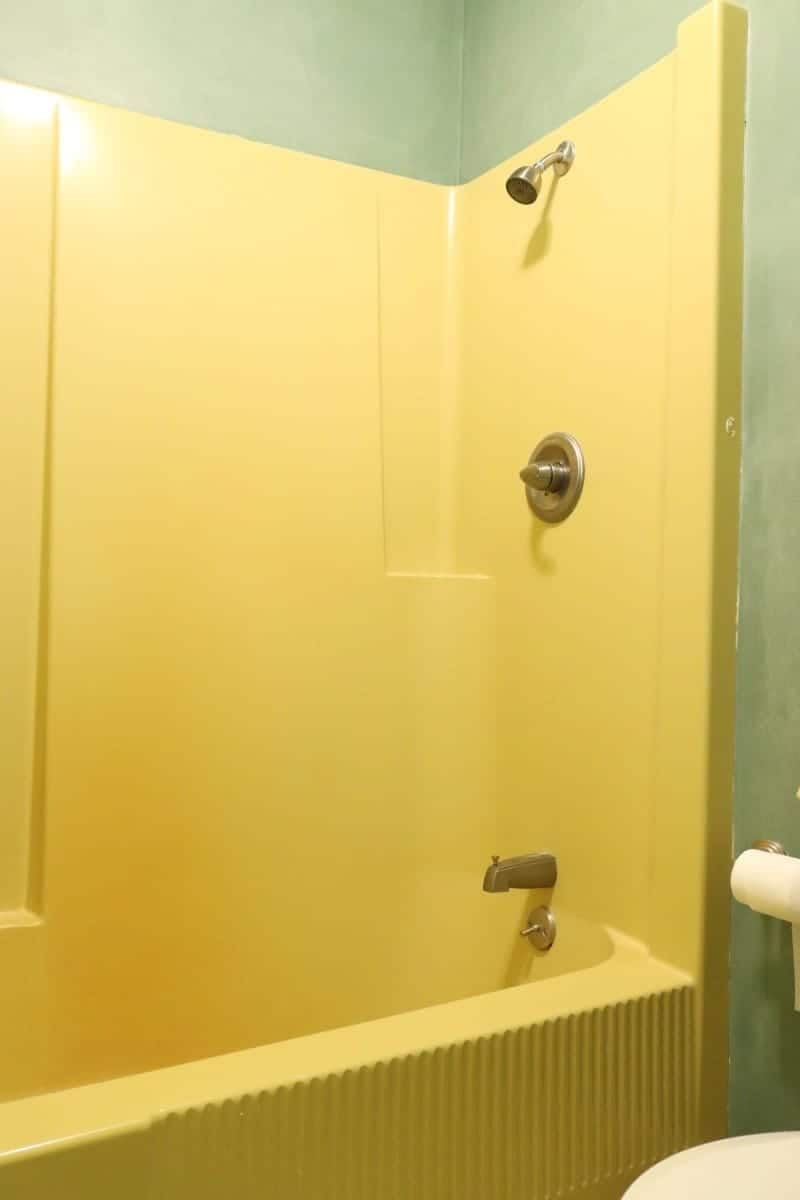
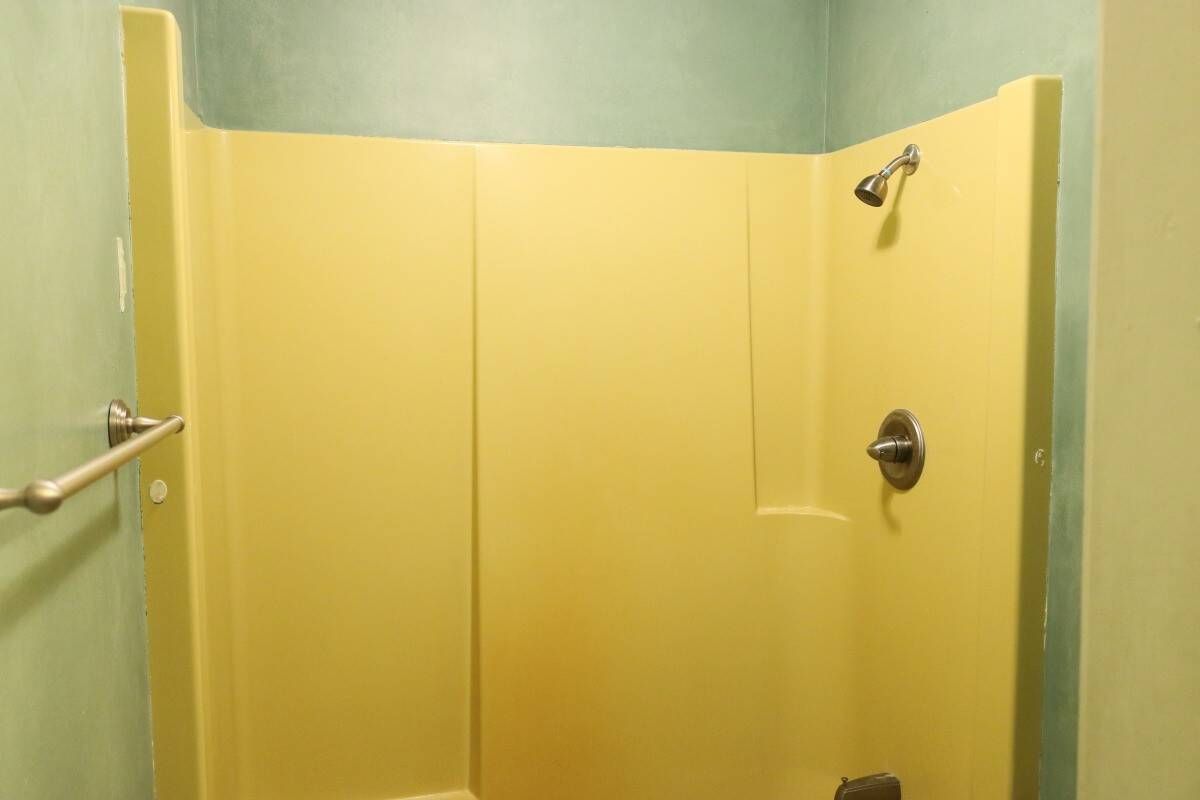
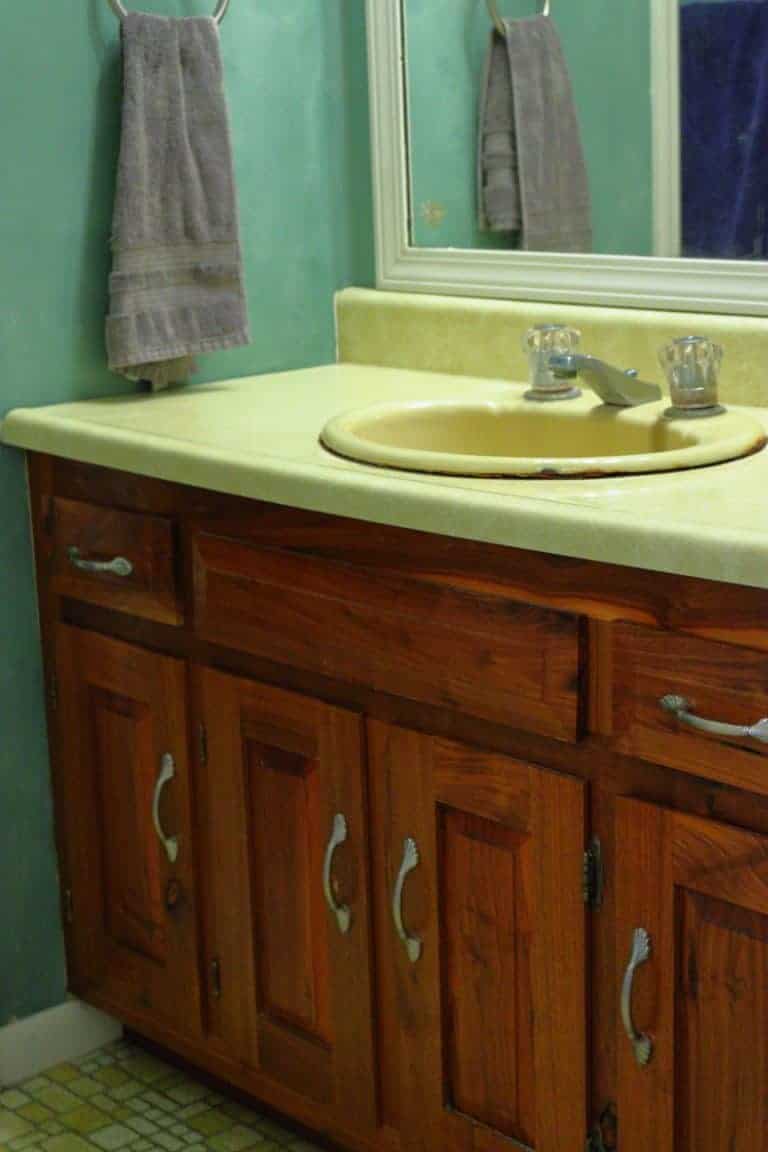
Today, I wanted to share what I learned from completing this DIY bathtub refinishing project. But, before we get into the nitty gritty, here’s what we were dealing with: a Harvest Gold fiberglass tub and surround straight out of 1977. (Check out My 1970’s Bathroom Remodel – Before for the whole experience.)
The one piece tub and shower unit is actually in remarkable shape with no scratches, cracks, or chips, and it’s in good structural condition. It’s just the color. Oh, that color.
There are several DIY bathtub refinishing kit choices. Homax, Aquafinish, and Bathworks are just a few, but I chose the Rust-oleum Tub & Tile Refinishing Kit.
The instructions on the box are fairly straightforward: you basically clean, then sand, and then paint. I found one kit was just enough to paint one coat on the entire tub and surround.

The kit consists of two cans of paint – the base and the activator, and you mix them together inside the larger can, then just paint it on.
DIY Bathtub Refinishing Project
This project is actually pretty simple. I followed the prep directions to a ‘T’ (scroll down to the bottom of the post for some tips) and applied the first coat. It looks better already!
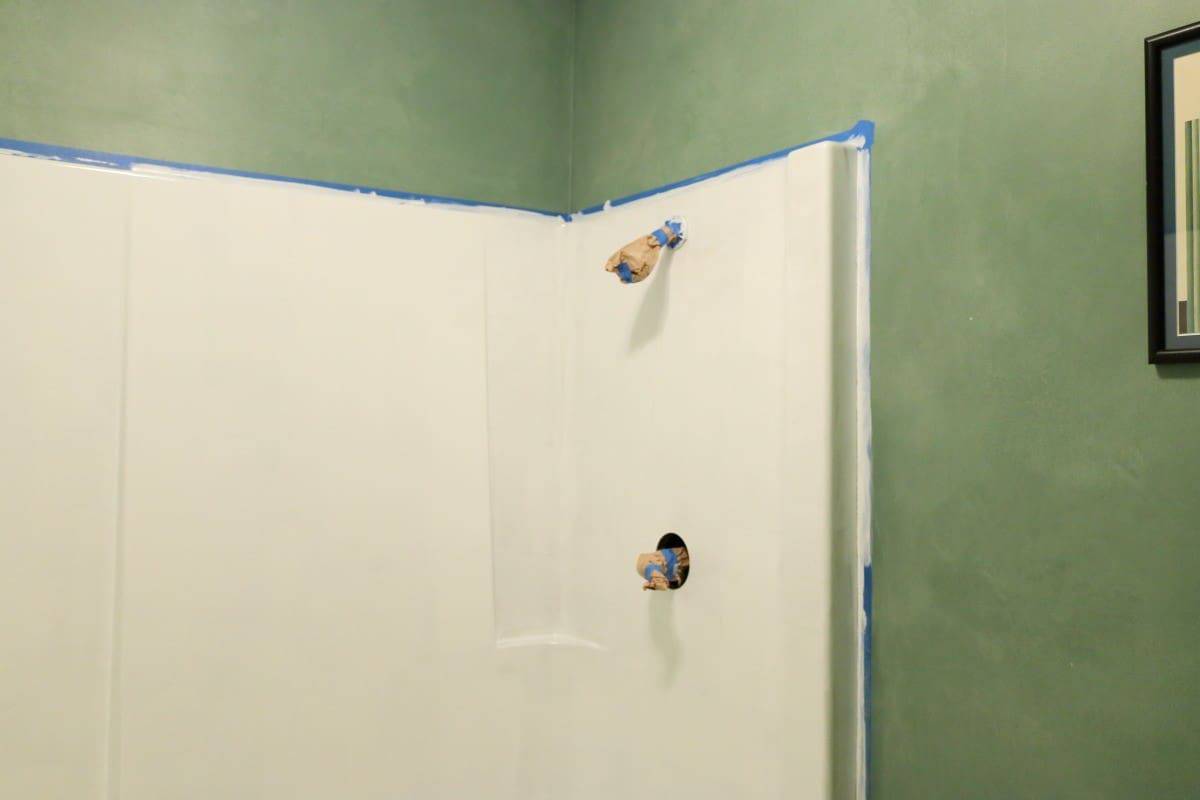
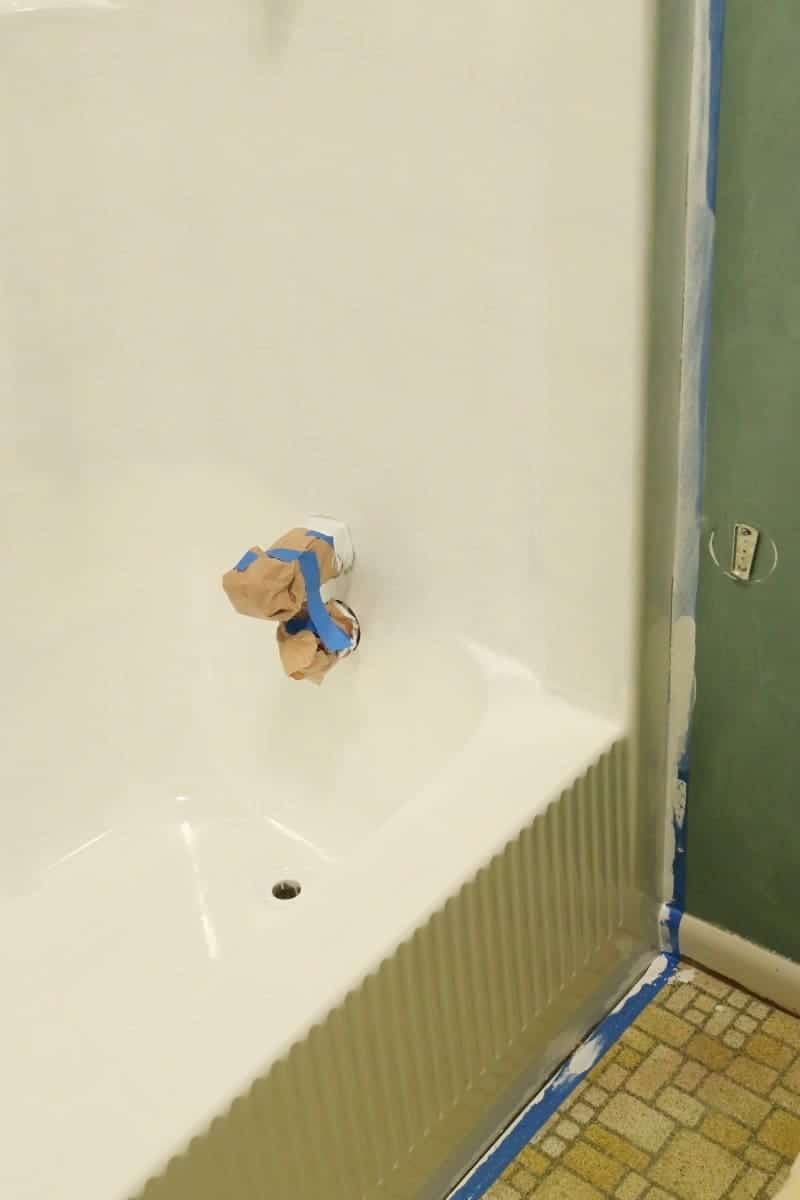
I couldn’t get all the faucet parts off; they are relatively new and I didn’t want to scratch them, so I just taped them up really well. The wall will be painted and the floor replaced, so I wasn’t too concerned about making a mess, but definitely needed a wider size of painter’s tape.
I had more trouble with the second coat of the bathtub refinishing kit, but it was 100% user error. It almost became an “I Love Lucy” skit, but with lots of swearing. Lots.
There were a few places that looked like they needed an additional coat, and after the paint dried, I realized I had little bits of the roller cover embedded in the finish. I should have swapped the roller cover earlier.
It was pretty obvious that I needed to sand those bits off and add a third coat. (I’ve seen articles where people got great results with just one coat, so I guess it depends on the base color you are covering and the tub material.)
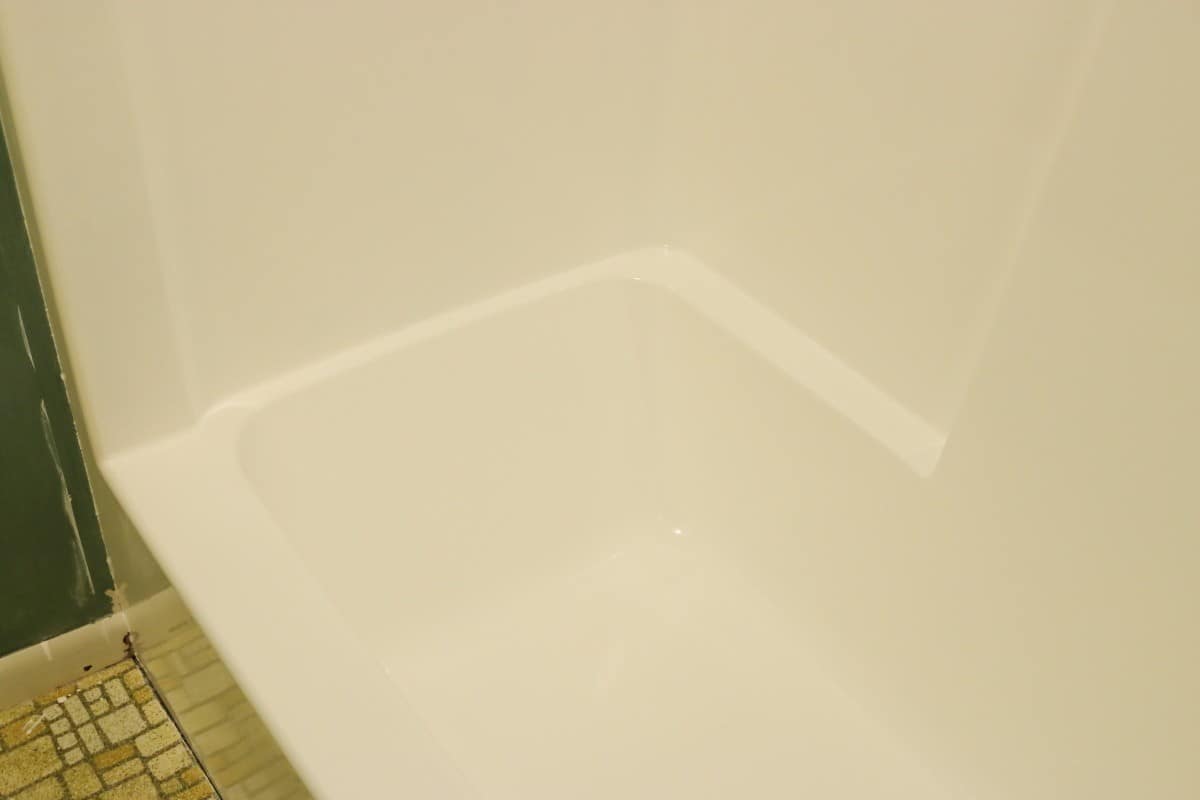
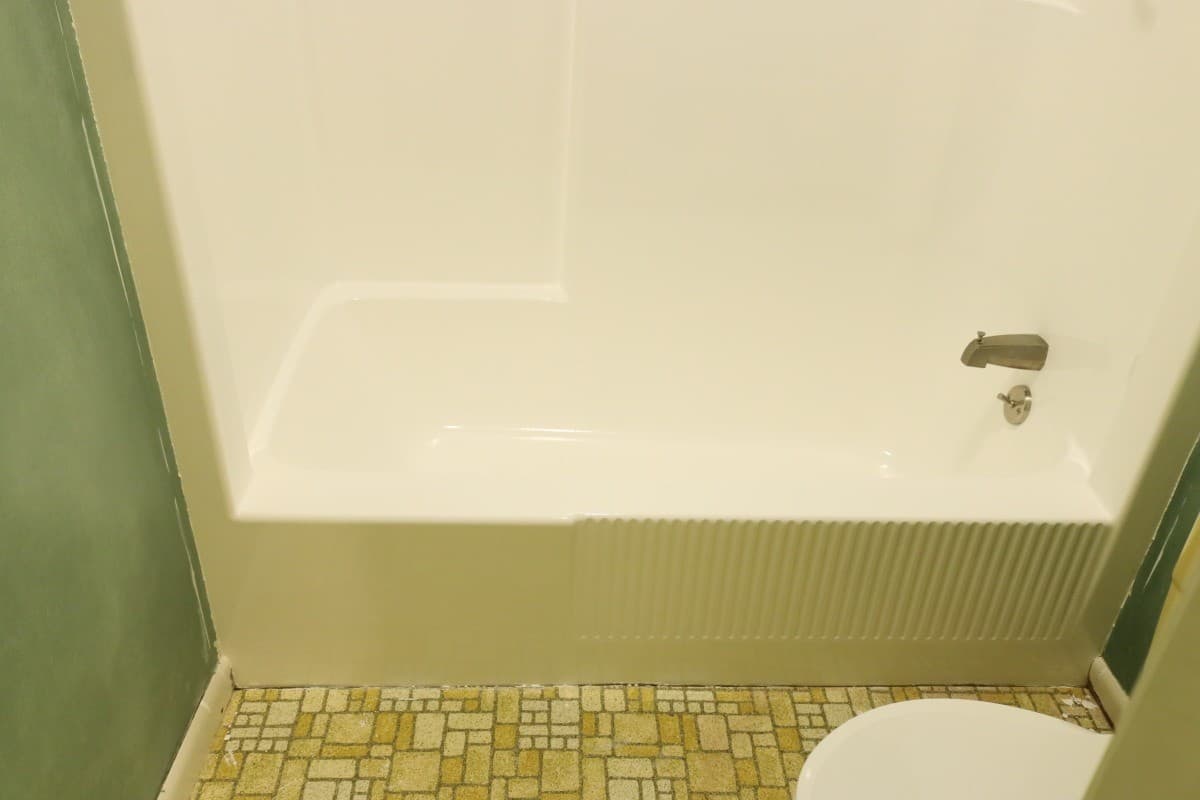
But it was worth it. I couldn’t be happier with the results. Here’s the view from the hall (ignore the floor & yellow toilet):
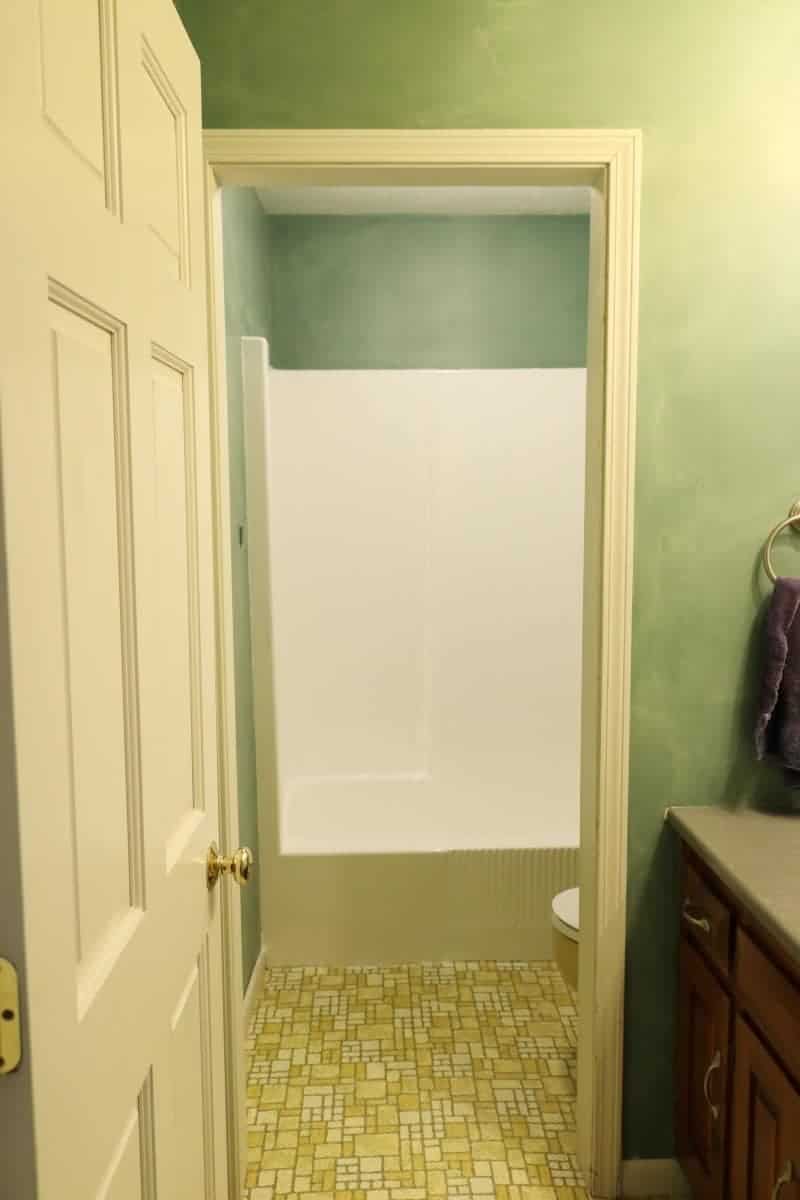
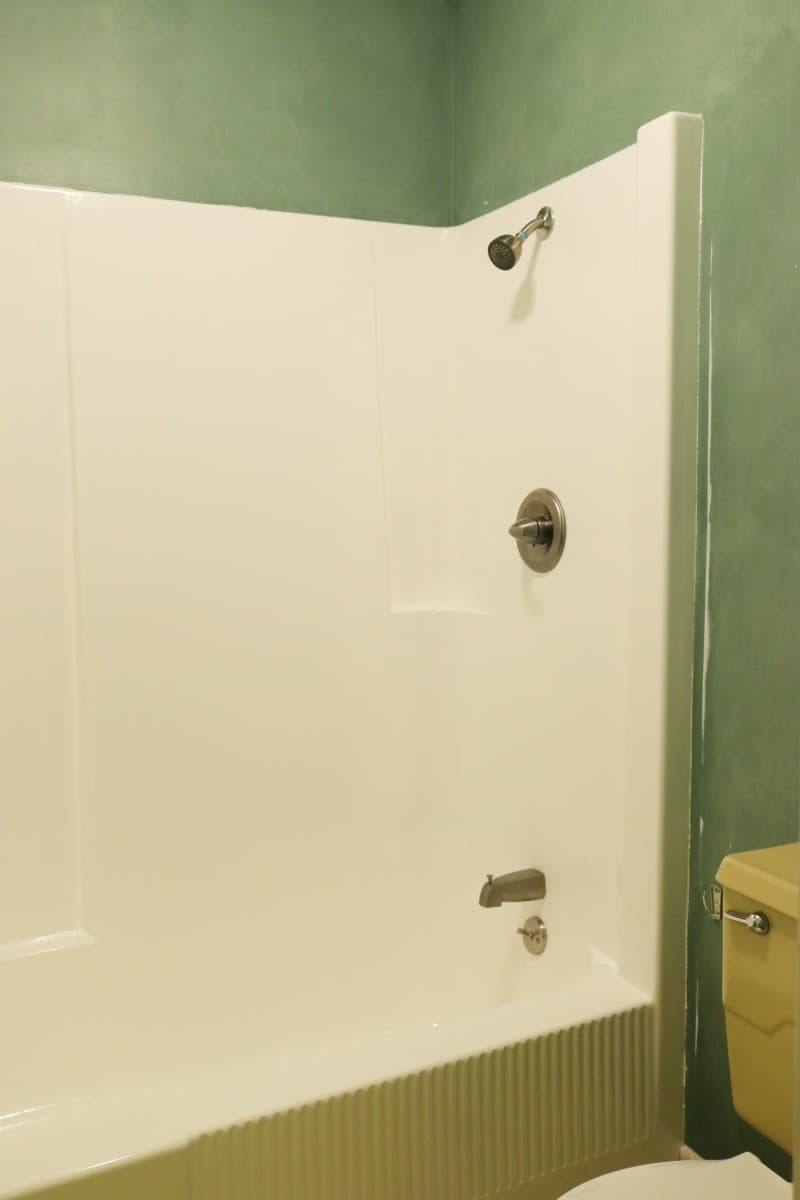
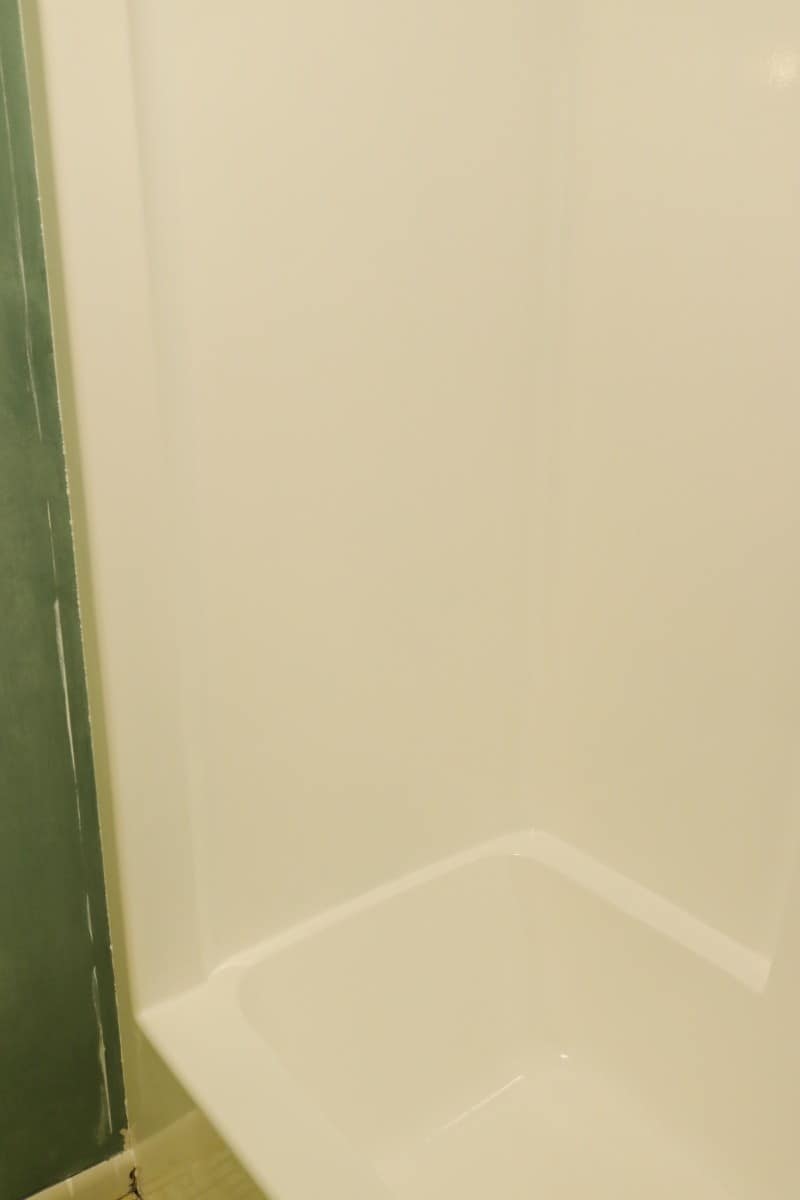
Please note: in these pictures, the front of the tub looks like it has a yellow tinge. That’s just the reflection from the yellow floor. The Rust-oleum bathtub refinishing kit covered the yellow fiberglass, and it’s actually very white, as you can see in the picture at the bottom of the post.
DIY Bathtub Refinishing – Supplies

I was lazy and ordered most of the bathtub refinishing supplies from Amazon (links are included below if you’d like to be lazy too). Unfortunately, the roller and roller covers I ordered did not work together.
So, I went to my local Ace Hardware, got a cheap 4″ roller and asked for roller covers that would work with an epoxy paint.
Here’s a list of the supplies needed:
- Rust-oleum Tub & Tile Bathtub Refinishing 2-Part Kit (I needed 3)
- respirator mask
- Lime Away
- tack cloth
- 400 grit sandpaper (I used 8 sheets for 3 coats)
- painter’s tape – get a wide size (1.5″ – 2″)
- scouring pads
- 4″ mini roller and roller refills (at least 2 rollers per coat)
- foam brushes (at least 2 per coat) – 1.5″ wide worked best for me. I found the wider brush to not be flexible enough.
- 4″ wide disposable paint tray
- stir sticks
- latex gloves
- eye protection
- old newspapers or drop cloths to protect the floor
- garbage bags – for discarded rollers and brushes
Costs
So, how much did this DIY bathtub refinishing cost? All together, it cost about $150:
- 3 Rust-oleum Tub & Tile Bathtub Refinishing Kits – $90
- Respirator mask – $30
- Cleaning products, sanding & painting supplies – $30
DIY Bathtub Refinishing – Project Length
It took me about four days to complete this project. To make sure that the surface was well prepped, I spent a lot of time cleaning and sanding. The last thing I wanted was to have the paint bubble up because I had rushed through the prep work.
Finally, the tub had several areas of rust stain from the iron in our well water, so I made sure those areas were especially clean.
On Saturday I cleaned and sanded the tub according to the kit’s directions. After reading lots of questions and reviews on Amazon, I decided to sand the tub a second time just to be on the safe side. My approximate hours were:
- 3 hours to clean & sand
- 2 hours to sand a second time, wipe with a tack cloth, tape edges, and clean up (I used the brush attachment on the vacuum cleaner to pick up all the fiberglass dust – it goes everywhere!)
- 1.5 hours apply first coat and cleanup
- 2 hours drying time
- 1.5 hours second coat and cleanup
- 5 minutes anguishing over bits of roller in the finish, drips, brush marks, etc. and deciding I needed to do a third coat.
- 15 minutes talking to Rust-oleum with questions about a third coat. Grumble and swear (a lot), and then wonder why I started this project.
- 1.5 hours for sanding, cleaning, retaping
- 24 hour wait
- 1.5 hours for final coat and clean up
If two coats does the trick, you could easily do this in a weekend (clean & sand on one day and paint the next).
Advice & Tips
By the third coat, I was feeling pretty “expert”. I’m definitely not, but here are some things I learned:
Prep
- Be safe and get a respirator!! Sanding a fiberglass tub generates sooo much dust, and you don’t want to breathe that stuff in. The fumes from the paint are also really strong, so protect yourself.
- Follow directions on the box – no shortcuts!
- Sand a second time. You need a good surface for the paint to adhere.
- Use a good painter’s tape that is pretty wide (1.5″ – 2″). I used a regular sized tape and got paint all over the wall. I was already planning on repainting the walls, so it wasn’t a big deal.
Painting
- Plan on using disposable painting supplies (trays, rollers, brushes, etc.)
- I’ve read articles that say the paint is really thick, but I found it to be much thinner than regular paint. It can leave drips and it runs pretty easily.
- The paint dries really quickly, so you need to keep a wet edge. Some people suggest cutting in and painting like you would a wall, but that left me with roller marks. Which caused an eye twitch.
- Even though the paint is self-leveling, you will still get brush marks. After I rolled the paint on, I ran a foam brush very lightly over the wet paint to even out any roller marks.
- You won’t be able to keep all the edges wet, so try to find natural breaks on the tub (like at a soap dish or ledge) where roller marks won’t be as noticeable.
- Switch rollers & brushes half way through. Don’t wait until they start to fall apart – it’s too late and you’ll have bits of the roller in your paint.
- Remove the painter’s tape one hour after your last coat.
- I used 320 grit sandpaper between the 2nd and 3rd coats to even out some drips, runs, and roller marks.
- Refinish the bathtub on a warm day when you can open all the windows in the house. The fumes are strong and the whole house will smell. It dissipates after a few days, but you definitely want a lot of ventilation.
- If your bathroom does not have a window, put a fan in the doorway to help with air flow.
- If you have roller bits in the paint, or need to do a third coat, sand the entire tub with 400 grit sandpaper, and then wait at least 24 hours before applying the next coat of paint.
- Call Rust-oleum’s customer support with questions. They were super helpful.
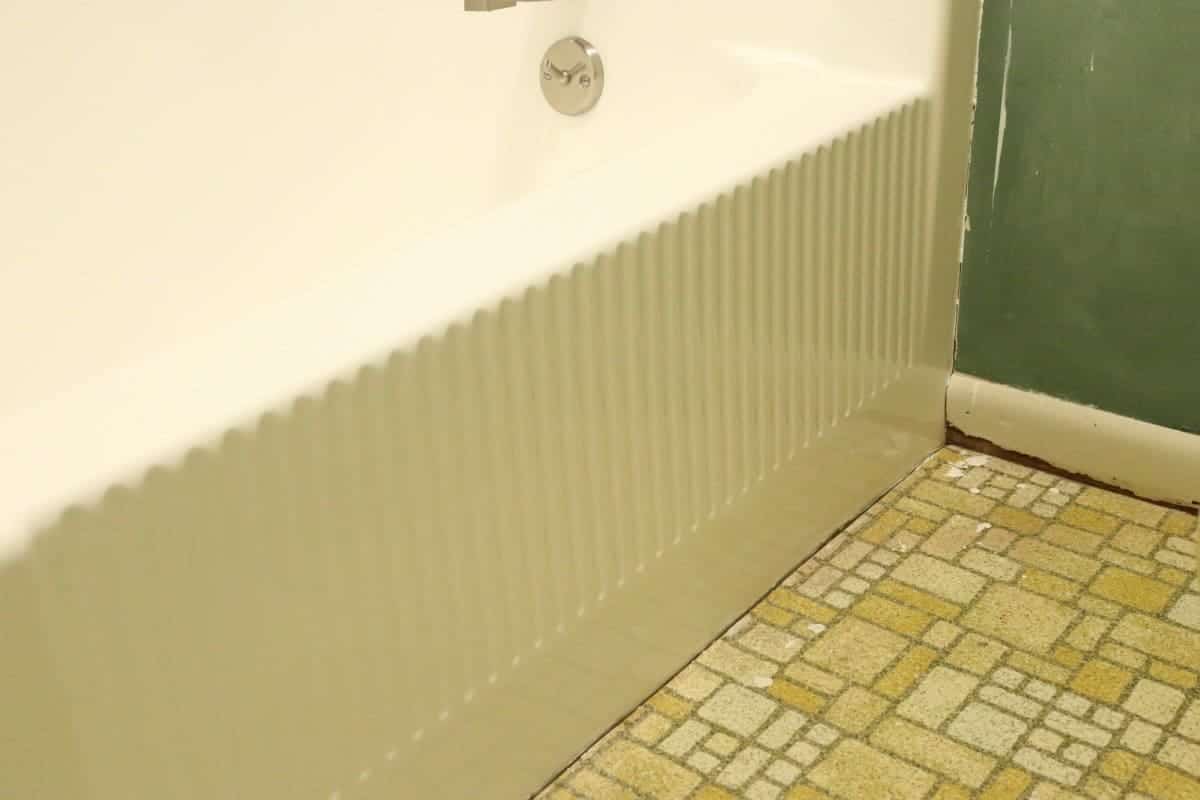
So far, the tub looks fabulous. Now, it’s time to move on to the rest of the project.
UPDATE:
It’s been almost two years since I refinished the tub, and it still looks great. Even though it’s used daily, the finish looks just as good as when I finished. To clean the tub, I use a multi-purpose cleaning solution (Mr. Clean) and warm water.
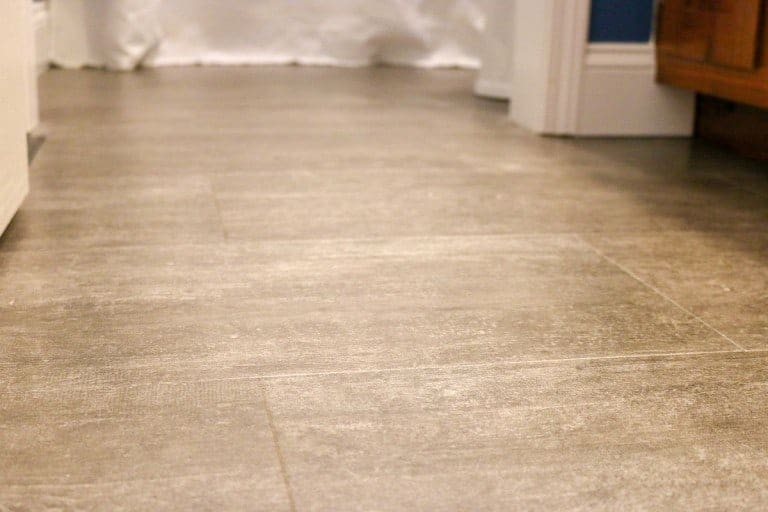
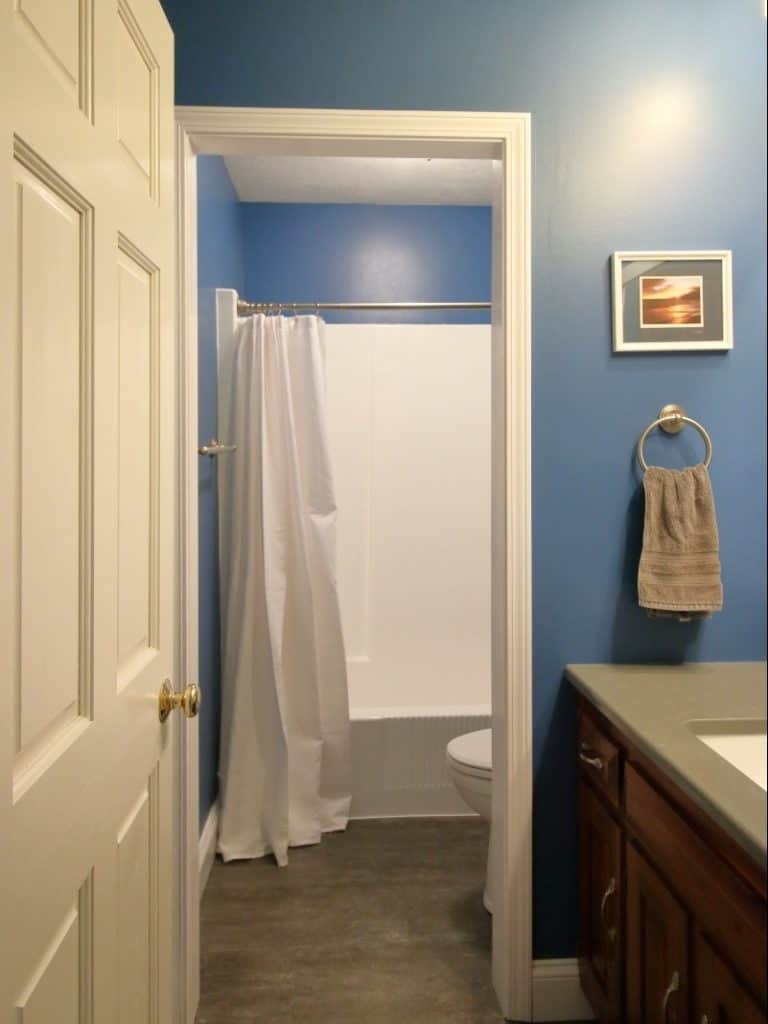
Here’s an after with the newly finished tub and new paint on the walls. This post, Updating a Harvest Gold Bathroom, has all the details.



Beautiful job, Can you come to my house and redo my harvest gold corner fiberglass tub and surrender. Your Mom
Of course that should be surround.
I think you had it right the first time – I _would_ surrender after doing your corner tub! But, thanks for the compliment and the laugh. ❤️
Turned out great! Do you have a completed bathroom makeover post? Eventually I want to do this to my two showers. They are blue and tan. I will do one at a time so that way we can still use the other one while that one is drying. Since I also want to replace the faucets, that will make it cost more, so have to wait until we have the money for that as well. But still much easier/cheaper than wripping out and putting it a whole new tub.
Thanks!! Yes, I do! Updating a Harvest Gold Bathroom You’re smart to do one at a time. It takes a bit of time with the prep, painting, and drying. Good luck with your project and thanks for stopping by!